Podcasting continues to grow as one of the most accessible and engaging content formats, with thousands of new shows launching each month. Whether you're planning interview conversations, solo commentary or narrative storytelling, the right equipment ensures your audience hears your message clearly without technical distractions.
This comprehensive guide examines the essential equipment categories for podcast production, explaining what matters most at different budget levels and how to avoid common purchasing mistakes that can derail your launch.
Understanding Your Podcast Requirements
Before selecting equipment, clarify your podcast format and production approach. Solo podcasters recording in a consistent location have different needs compared to hosts conducting remote interviews or recording on location. Consider these factors:
Format determines microphone quantity. Solo shows need one microphone, co-hosted formats require two or more, whilst interview podcasts might benefit from additional units for guests.
Recording location influences acoustic treatment needs. Home offices or spare bedrooms typically require basic sound dampening, whilst professional studios offer controlled environments that maximise equipment performance.
Technical expertise affects equipment complexity. Beginners often prefer simple USB microphone setups, whilst experienced creators might choose XLR systems offering greater flexibility and upgradeability.
Microphones: Your Most Critical Investment
Microphone quality fundamentally determines podcast sound. Listeners tolerate many imperfections, but poor audio clarity drives audiences away faster than any other factor.
USB Microphones
USB microphones connect directly to computers without additional hardware, making them ideal for beginners. Quality USB models deliver excellent results for solo podcasters recording in treated spaces.
The plug-and-play simplicity means you can start recording within minutes of unboxing. Modern USB microphones include built-in analogue-to-digital converters and preamps, eliminating the need for separate audio interfaces.
Limitations emerge when scaling beyond single-microphone setups. Most computers struggle to recognise multiple USB microphones simultaneously, complicating co-hosted or interview formats. Additionally, USB microphones offer limited upgrade paths compared to XLR alternatives.
XLR Microphones
XLR microphones represent the professional standard, used in broadcast studios and recording environments worldwide. These microphones require audio interfaces or mixers but offer superior flexibility and longevity.
Dynamic XLR microphones excel at rejecting background noise, making them ideal for untreated rooms or environments with ambient sound. They handle close proximity well, essential for the intimate vocal delivery characteristic of podcasting.
Condenser microphones capture more detail and frequency range but require quieter recording environments. Large-diaphragm condensers deliver warm, rich vocal tones favoured for narrative podcasts and audiobook recording.
Audio Interfaces: Connecting Microphones to Computers
Audio interfaces convert analogue microphone signals into digital audio your computer can process. These devices contain preamps that boost microphone signals to usable levels and analogue-to-digital converters that maintain sound quality.
Entry-level interfaces with one or two inputs suffice for solo and co-hosted podcasts. Look for models with sufficient preamp gain for your chosen microphones, as underpowered preamps produce noisy recordings even with quality microphones.
Interface connectivity matters for computer compatibility and performance. USB interfaces work with virtually all computers but may introduce latency. Thunderbolt models offer lower latency and higher channel counts at premium prices.
Phantom power capability is essential if you plan to use condenser microphones, as these require 48-volt power supplied through XLR cables. Most interfaces include phantom power switches, but verify this feature if considering condenser microphones.
Headphones: Monitoring Your Sound
Quality headphones serve multiple purposes in podcast production. During recording, they allow real-time monitoring to catch technical issues before they ruin takes. In post-production, accurate headphones reveal editing artefacts and help balance levels.
Closed-back headphones prevent sound leakage that might be captured by microphones during recording. This design isolates you from external noise whilst containing audio within the ear cups.
Comfort becomes critical during extended editing sessions. Adjustable headbands, replaceable ear pads and moderate clamping force reduce fatigue. Weight matters too, as heavy headphones cause discomfort after an hour or two.
Impedance matching ensures your headphones work efficiently with your audio interface. Most podcast interfaces drive headphones rated between 32 and 80 ohms comfortably. Higher impedance models might require dedicated headphone amplifiers.
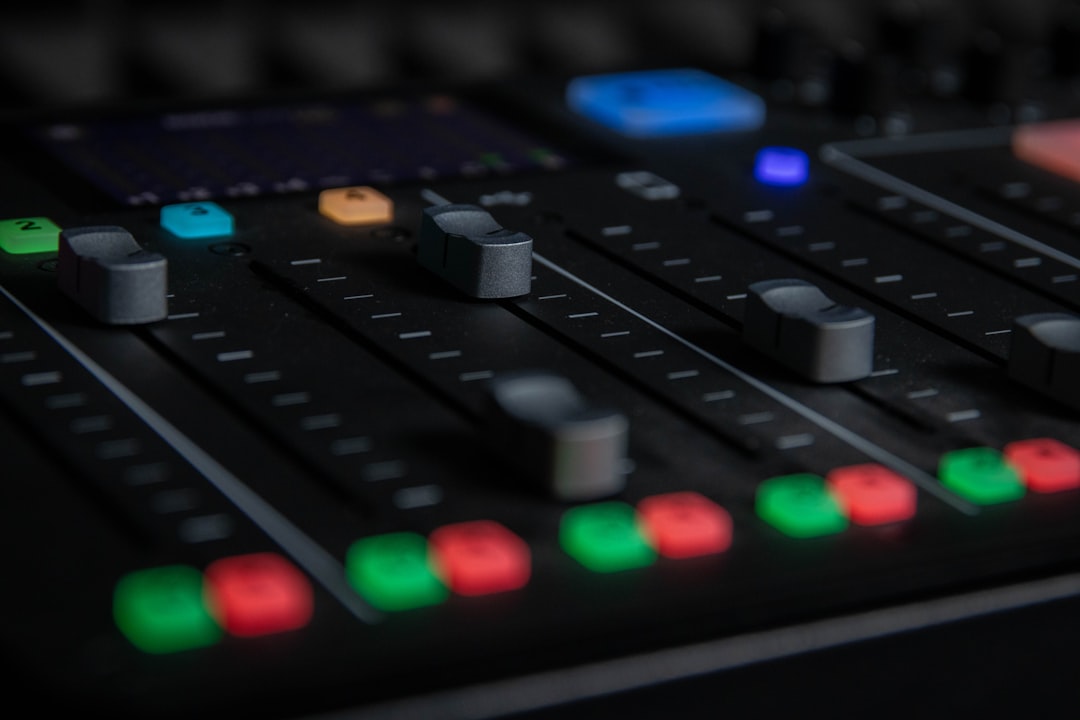
Recording and Editing Software
Digital audio workstations capture and edit your podcast recordings. Free options like Audacity or GarageBand provide sufficient functionality for straightforward productions, whilst professional tools offer advanced features for complex editing.
Multitrack recording capability allows separate control over each microphone, essential for balancing levels between hosts or removing crosstalk. This flexibility proves invaluable when one speaker sits closer to their microphone or speaks more quietly.
Non-destructive editing preserves original recordings whilst allowing unlimited experimentation. You can try different edits, effects and arrangements without permanently altering source files, providing safety nets for learning and experimentation.
Accessories That Matter
Several accessories significantly improve recording quality and workflow efficiency beyond core equipment pieces.
Microphone Stands
Stable microphone positioning ensures consistent sound quality. Desktop boom arms position microphones optimally whilst keeping desk space clear. Floor stands work better for standing delivery or video podcast setups.
Shock mounts isolate microphones from vibrations transmitted through stands, reducing rumble from desk bumps, footsteps or building movement. These simple devices noticeably improve recording cleanliness.
Pop Filters
Pop filters diffuse plosive sounds created by 'P' and 'B' consonants that would otherwise create unpleasant bursts in recordings. Position filters two to three inches from microphone capsules for optimal performance without muffling vocal clarity.
Cables
Quality XLR cables matter more than many beginners realise. Poor cables introduce noise, create intermittent connections and fail at inconvenient moments. Invest in reputable brands with proper shielding and robust connectors.
Budget Recommendations
Effective podcast setups exist at multiple price points. Spending more generally delivers better sound quality and greater flexibility, but diminishing returns set in beyond certain thresholds.
Starter Budget: £150-250
Quality USB microphone, basic closed-back headphones and free recording software. This combination produces perfectly acceptable results for solo podcasters in reasonably quiet environments. Many successful podcasts began with similar setups.
Intermediate Budget: £400-600
XLR dynamic microphone, two-channel audio interface, professional closed-back headphones, microphone stand with boom arm, pop filter and cables. This configuration handles solo and co-hosted formats with room for growth.
Professional Budget: £1,000-1,500
Multiple XLR microphones, four-channel interface with quality preamps, studio-grade headphones, multiple stands and shock mounts, acoustic treatment panels and professional editing software. This level supports complex productions with multiple speakers and advanced post-production.
Common Mistakes to Avoid
New podcasters frequently make equipment choices that seem logical but create problems later.
Overspending on microphones whilst neglecting acoustic treatment wastes money. A £200 microphone in an untreated room sounds worse than a £80 microphone with basic acoustic panels. Prioritise your recording environment before chasing expensive gear.
Buying incomplete systems forces costly retrofitting. Ensure your initial purchase includes all essential components rather than buying a microphone only to discover you need an interface, cables and stand before recording anything.
Ignoring ergonomics creates physical discomfort that undermines recording quality. Uncomfortable microphone positions, heavy headphones or awkward stand placement affect vocal delivery and limit recording session duration.
Rental Versus Purchase Considerations
Equipment rental offers several advantages for new podcasters uncertain about long-term commitment or testing different setups before purchasing.
Renting allows experimentation with various microphone types and recording chains. You might discover that a dynamic microphone suits your voice better than expected, or that you need fewer channels than initially planned.
Short-term projects benefit from rental economics. If you're producing a limited series or testing podcast viability, renting eliminates the capital investment required for ownership whilst providing access to professional equipment.
Upgrading becomes simpler when renting. As your skills develop and requirements change, you can switch equipment without selling previous purchases or accumulating unused gear.
Conclusion
Starting a podcast requires thoughtful equipment selection based on your specific format, budget and technical comfort level. Prioritise microphone quality and recording environment over accessory features, and choose systems that accommodate growth as your podcast evolves.
Whether you begin with a simple USB microphone or invest in professional XLR systems, focus on creating compelling content that serves your audience. Technical quality matters, but storytelling, preparation and consistency determine podcast success far more than equipment specifications.